Testing the Red Gemini

We just got a brand-new Red Gemini and took it out for a spin for a couple nights! What an incredible sensor – can’t wait for the dual-ISO upgrade. We did grade the footage, but didn’t denoise at all because we found the grain – even at 12,800 ISO – quite pleasing.

If you want to download and play with some Gemini footage, feel free to grab some of our clips.

Thanks to Claudia Piotrowska and Hillary Young for coming out for the evening, and James Healey for helping out with his lights & lenses.

DCP Creation Service

As we’ve created more films, we’ve had to create DCP packages for cinema playback, and have had more requests from others to create them as well. If your film is being shown in theatres, chances are you’ll be asked for a DCP. If this is you, let us help.

What we will send you:

We will provide you a zip file of your DCP as a digital download. At this time, we can only provide unencrypted 2K or 4K DCP’s.

What you’ll need to send us:

You’ll need to send us a digital copy of your film, using an online service (Dropbox, Google Drive, etc.) or on disk. Your film will need to adhere to the following standards:

Picture must be one of the following resolutions. Please note that these should be the full raster size of the file you deliver (i.e., not letterboxed). Send high-quality 10-bit source material (i.e., Prores 422HQ, DNxHD 175/DNxHR or better).

  • 2K Scope (2.39:1) Resolution: 2048×858
  • 2K Flat (1.85:1) Resolution: 1998×1080
  • 2K Full (1.90:1) Resolution: 2048×1080
  • 4K Scope (2.39:1) Resolution: 4096×1716
  • 4K Flat (1.85:1) Resolution: 3996×2160
  • 4K Full (1.90:1) Resolution: 4096×2160

Audio should be 5.1 or 7.1 surround sound. Please specify channel layout when delivering. Stereo (2.0) can also work, but is not recommended for theatres and, while it should work, cannot be guaranteed.

Frame rate can be delivered as 23.976fps or 24fps. Note that we will need to convert 23.976fps source material to 24fps and retime the audio accordingly. If your show is 29.97fps, please convert to 23.976fps first and deliver that to us.

What it will cost:

Our fees are simple: $4/minute of source material, with a minimum of $120, plus any applicable taxes.

STAY

We recently released a short film that we’ve been working on all summer. I thought I’d talk about the development, production, and post-production process a bit here. If you haven’t yet, please watch the film first!

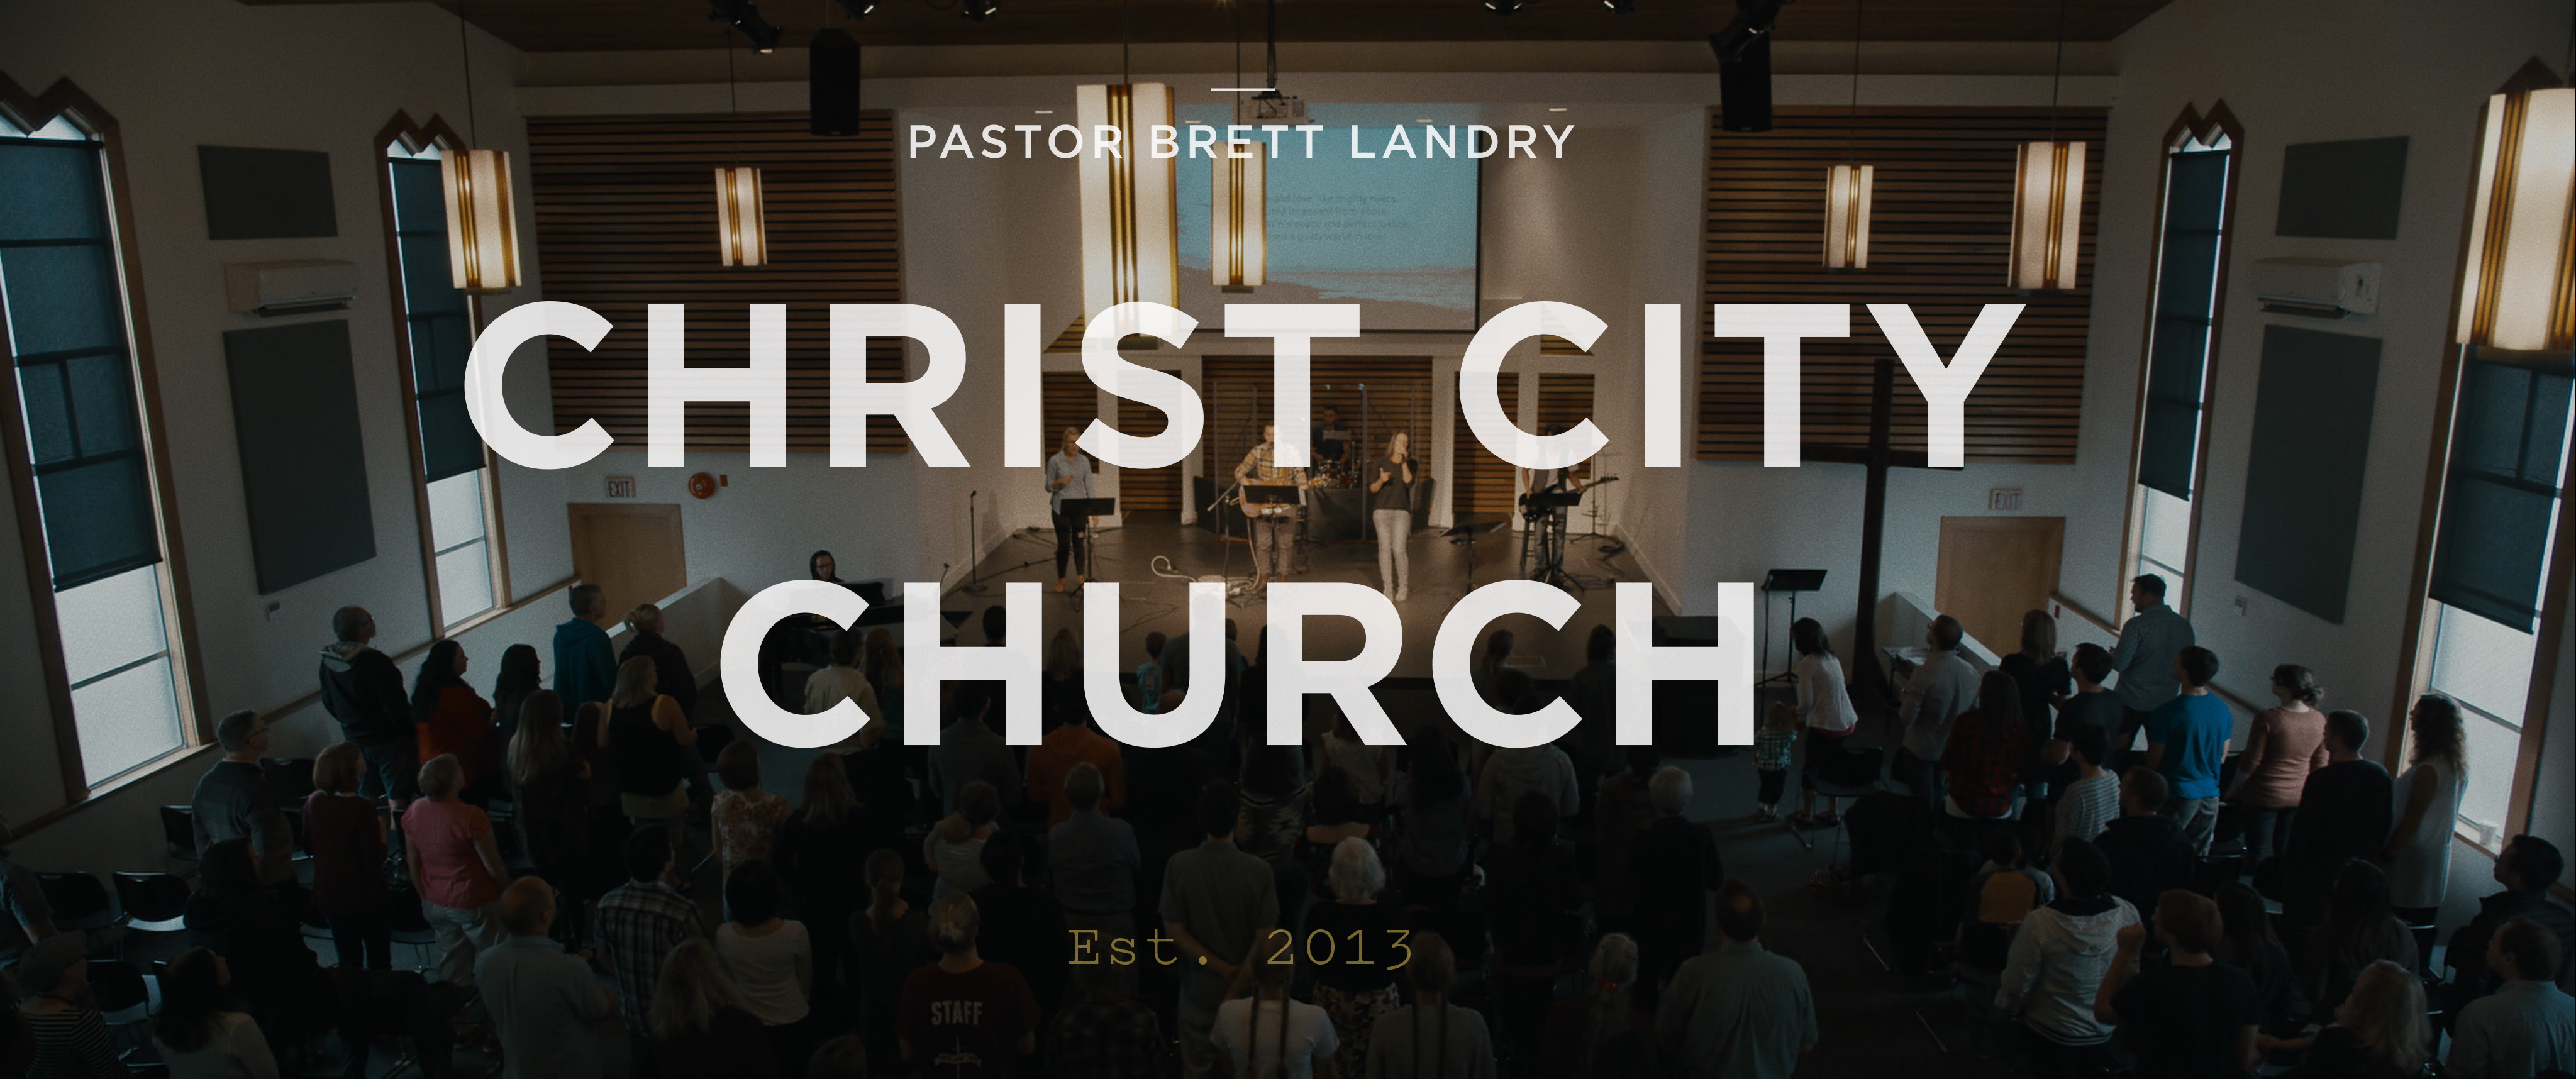
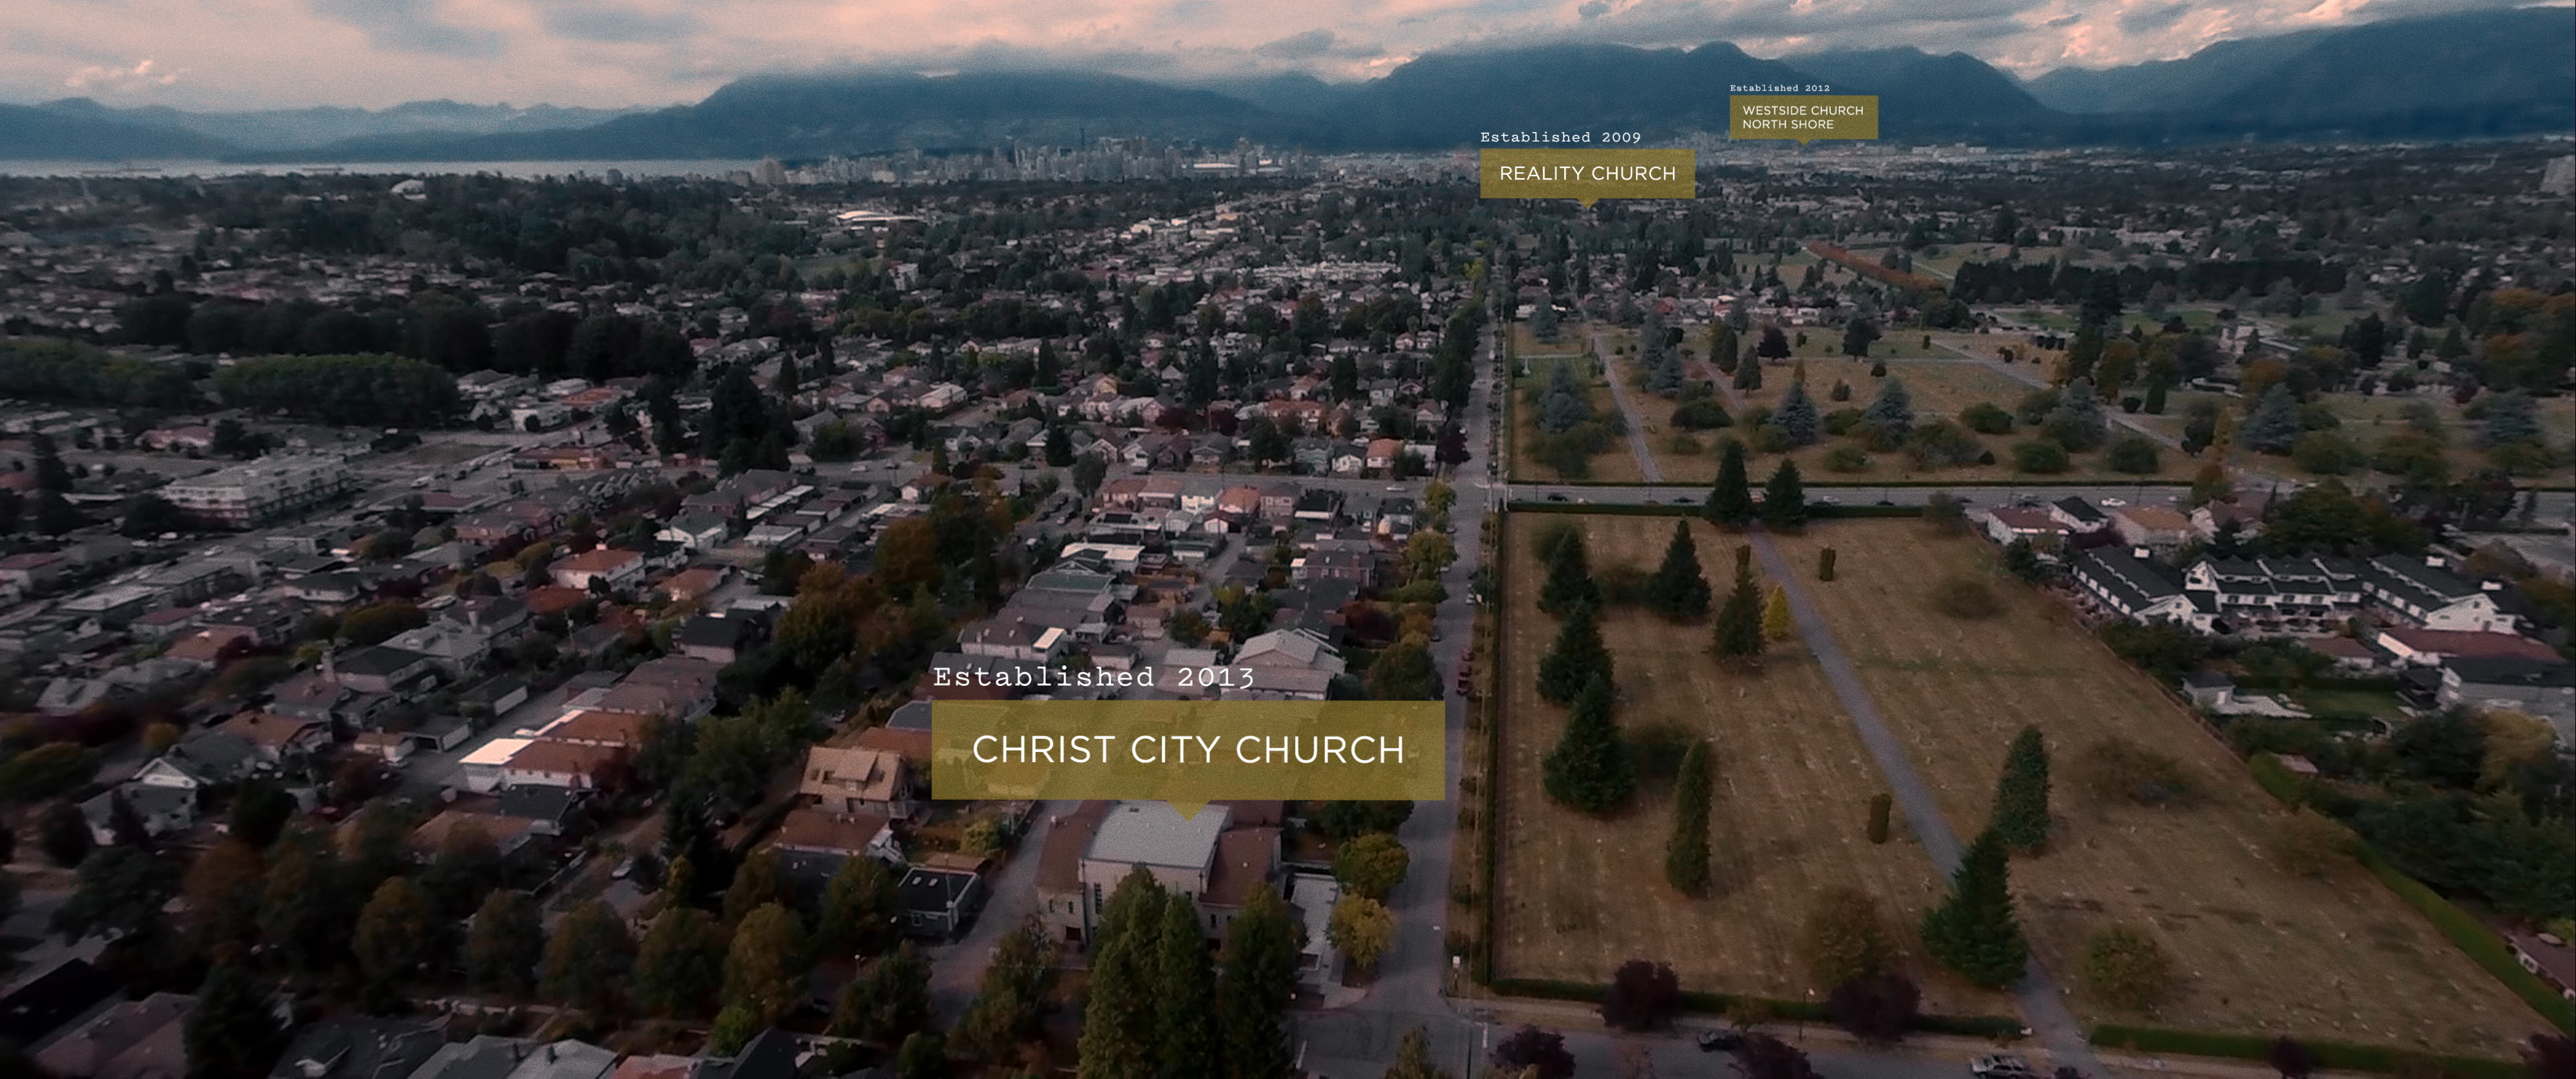
STAY began in two entirely different places. The first was pragmatic. Transposition does client work to cover costs and ensure we can continue making great work. Every year we produce a film that marks the launch of a new ministry year at Westside Church and they’ve been great clients – allowing us the freedom to try fun and creative ways of telling a story or communicating a message. The request this year was to make a film that showed how the church loves the city, but without using any theological language. Needless to say, this was a challenge in itself! The second was the time and place I live in. Livability in Vancouver has always been a topic of debate. I grew up in Edmonton, and the same way people made small talk there about the weather seems to be a good example of how often livability is brought up in conversation here. The geography and resulting lifestyle make an attractive place to live, and there’s much to be said for the culture and educational opportunities it offers as well. On the downside, it has become less affordable for decades, which leads many to seek a life elsewhere as soon as other needs in life move to the forefront – often, raising a family and owning a home. This was summed up well in Aaron Hildebrandt’s much-shared article, where he writes, “For almost everyone, your first ultrasound photo is also your eviction notice.”

The combination of the above made for a number of ‘fun’ concept meetings. We realized early on that we can’t make a film about loving a place without honestly coming to terms with the many legitimate reasons not to love it. We referenced some films that show the beauty of Vancouver, like Discovering Vancouver and Daydream Vancouver, but felt that in order to communicate why you might love a place that can be difficult to live in, showing only the best parts of it would be disingenuous.

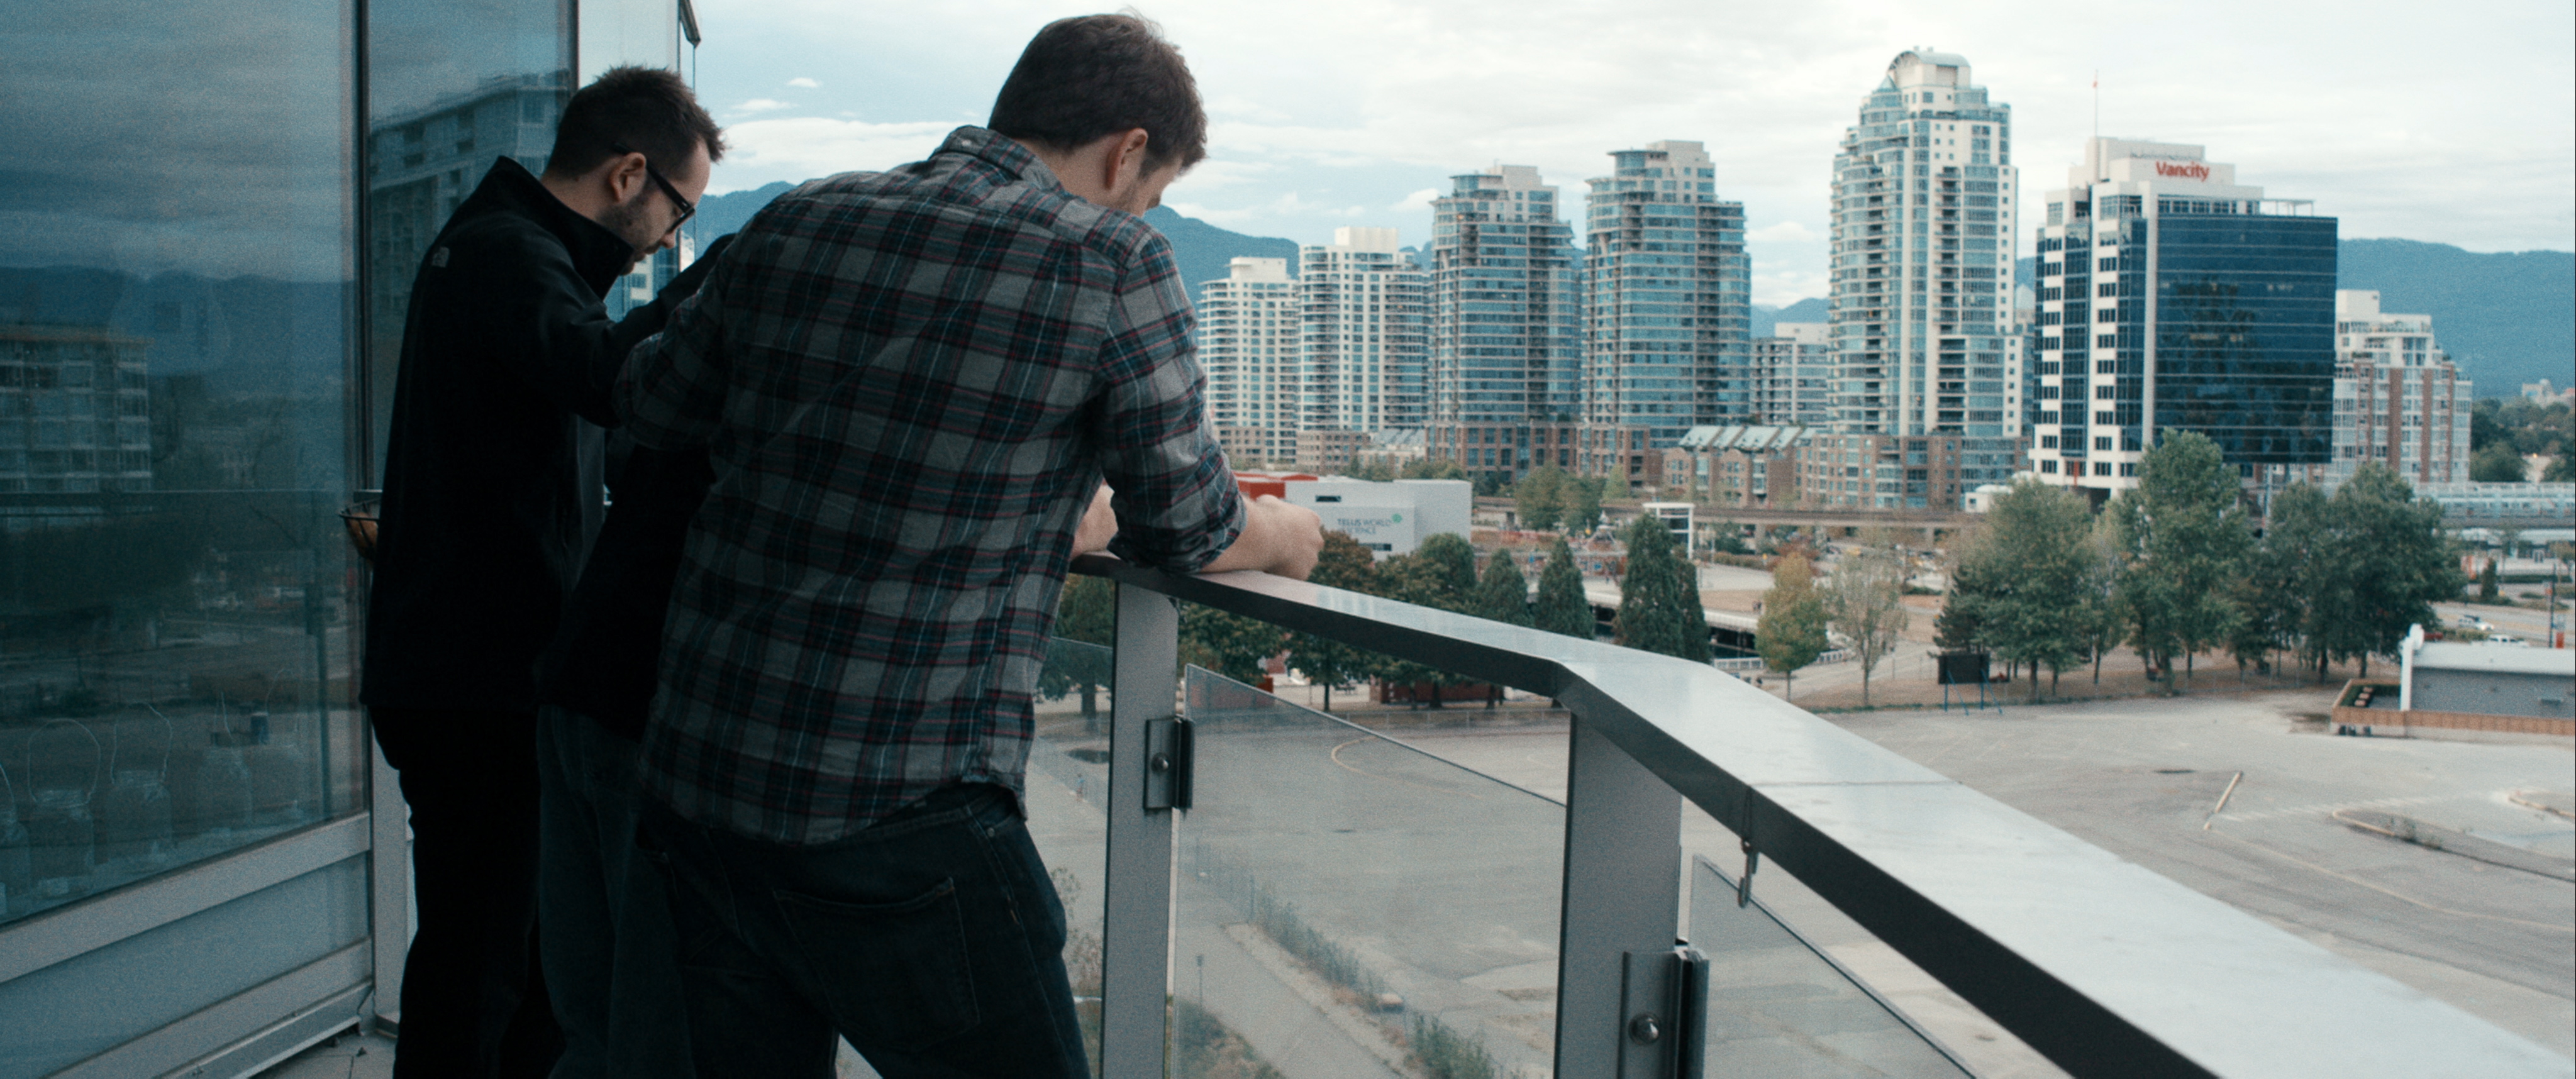
From those meetings, we decided that a discussion between two people would give us that tension in the most relatable way, and we wrote the dialogue to reflect that. One of the biggest challenges of this project was not only developing each character’s desires, but communicating that in very simple dialogue. I’ve written elsewhere about the meaning we intended for the film as well. Jonathan Fehr was very helpful in this process, as was Chris Pulsifer later on.

Coordinating the production was another major challenge. The scene with our actors was easy to schedule, but we wanted a beautiful montage of the many varied, creative, and beautiful people in Vancouver. One of the best decisions I made for the project early one was to pick a four-day block to shoot in, and then to ask on Facebook what anybody and everybody happened to be doing already that weekend. I received more replies for opportunities than we could schedule in our shoot days – and this was even considering we had two crews split up to cover everything! Of course, people’s plans change constantly as well, so we brought in a production coordinator to handle the ever-changing schedule. Hannah did a great job on this!

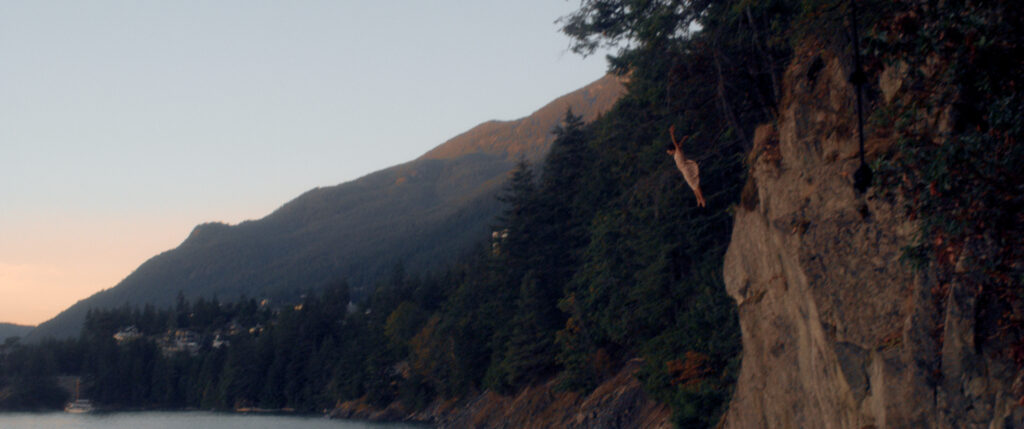
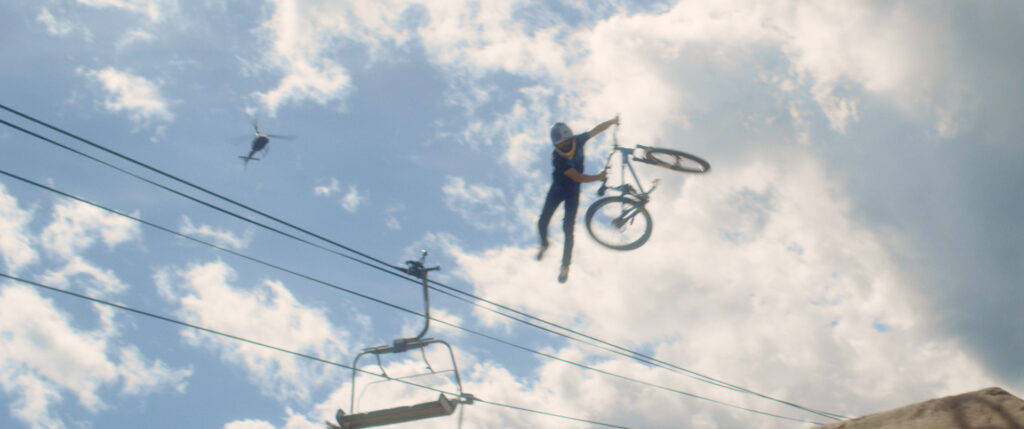
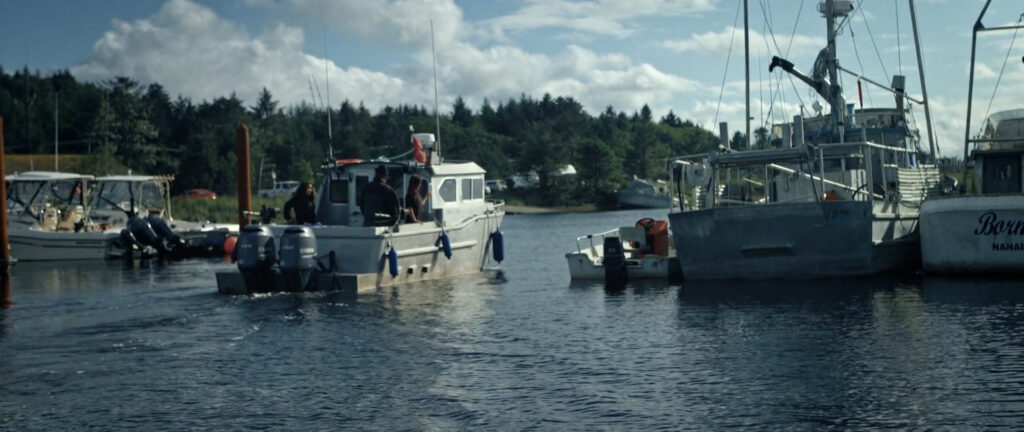
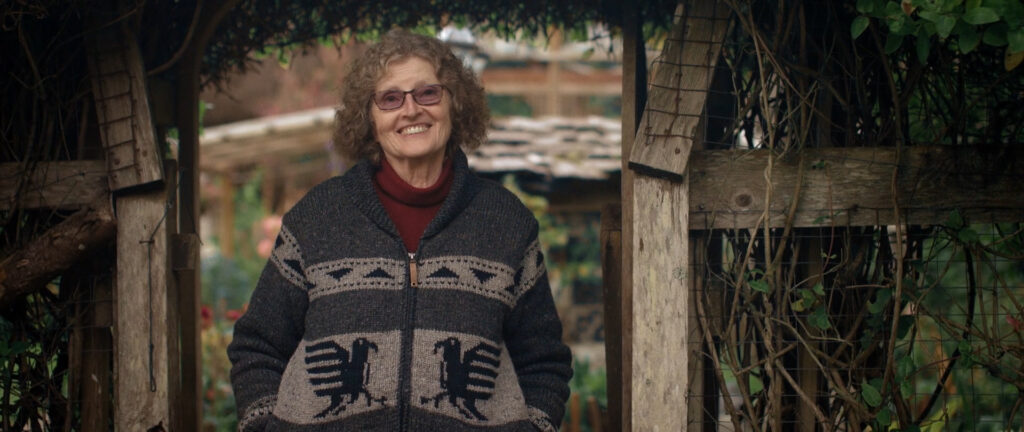
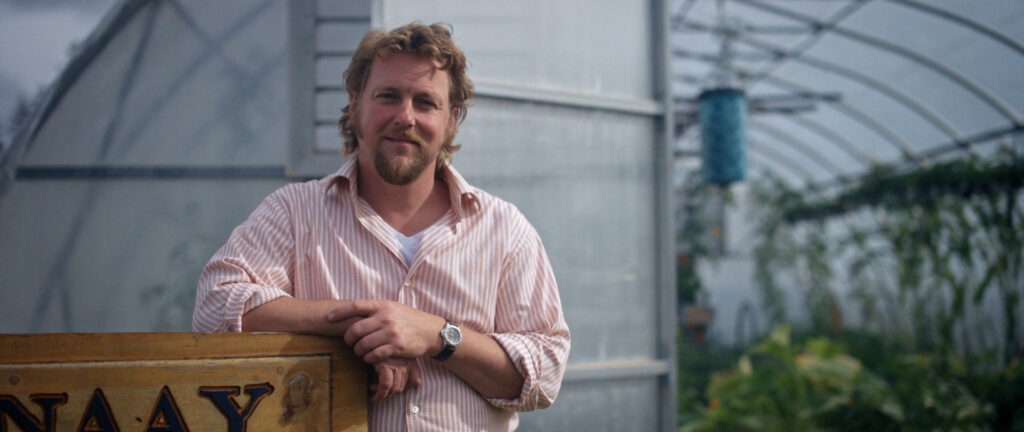
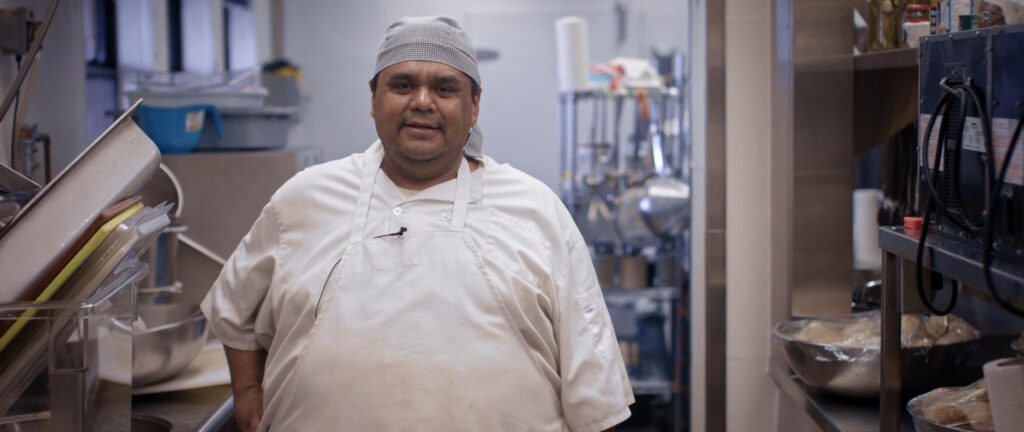
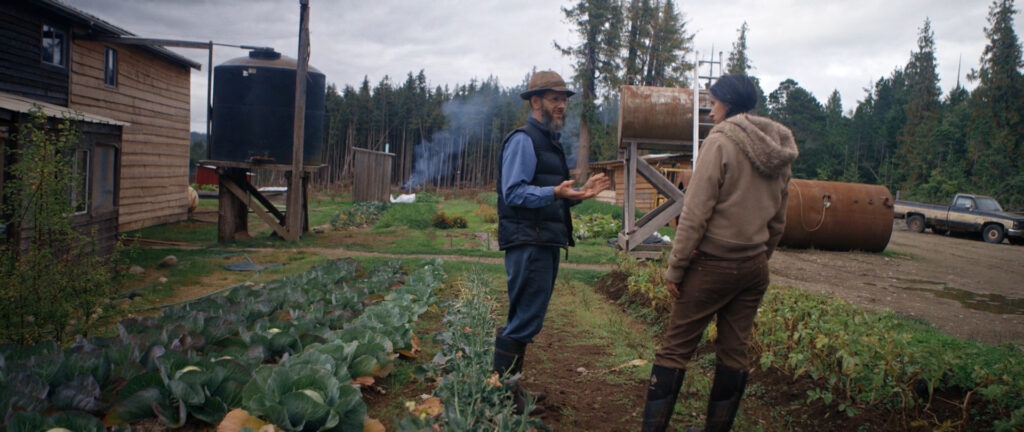
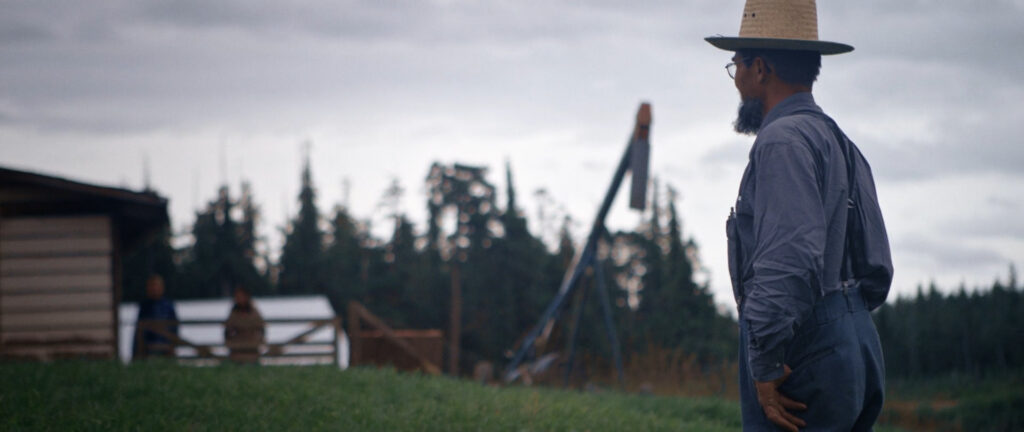
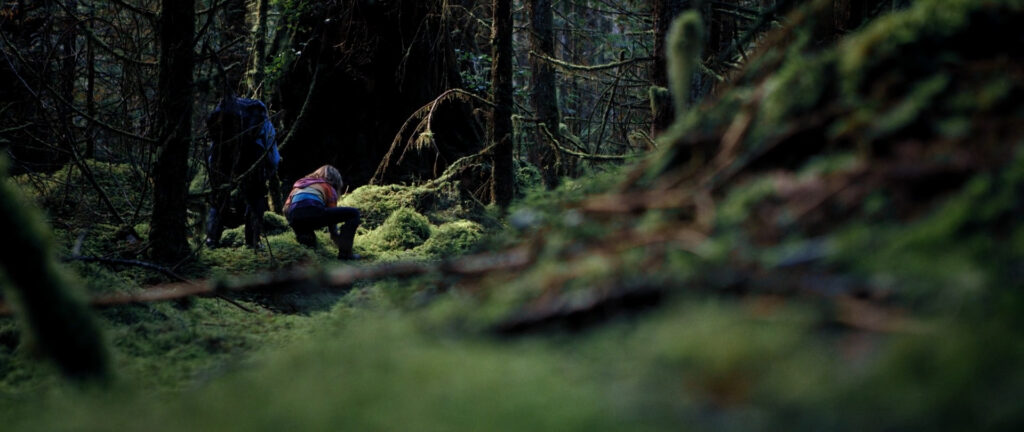
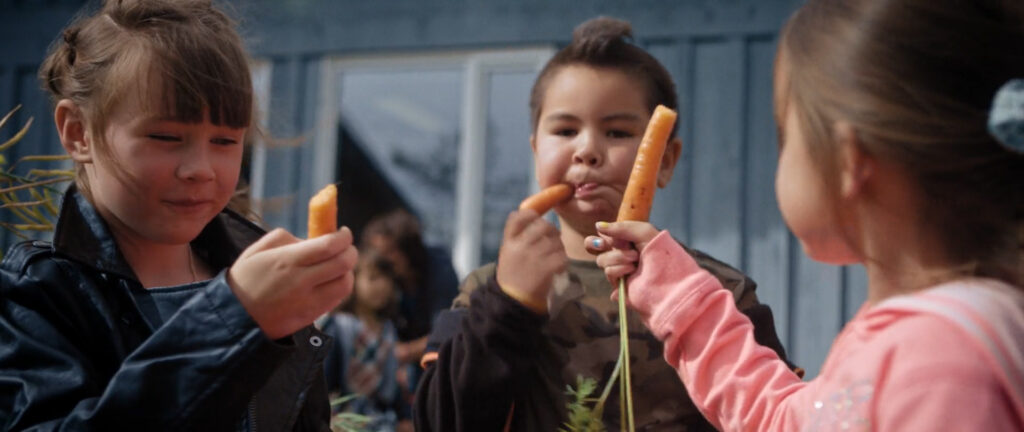
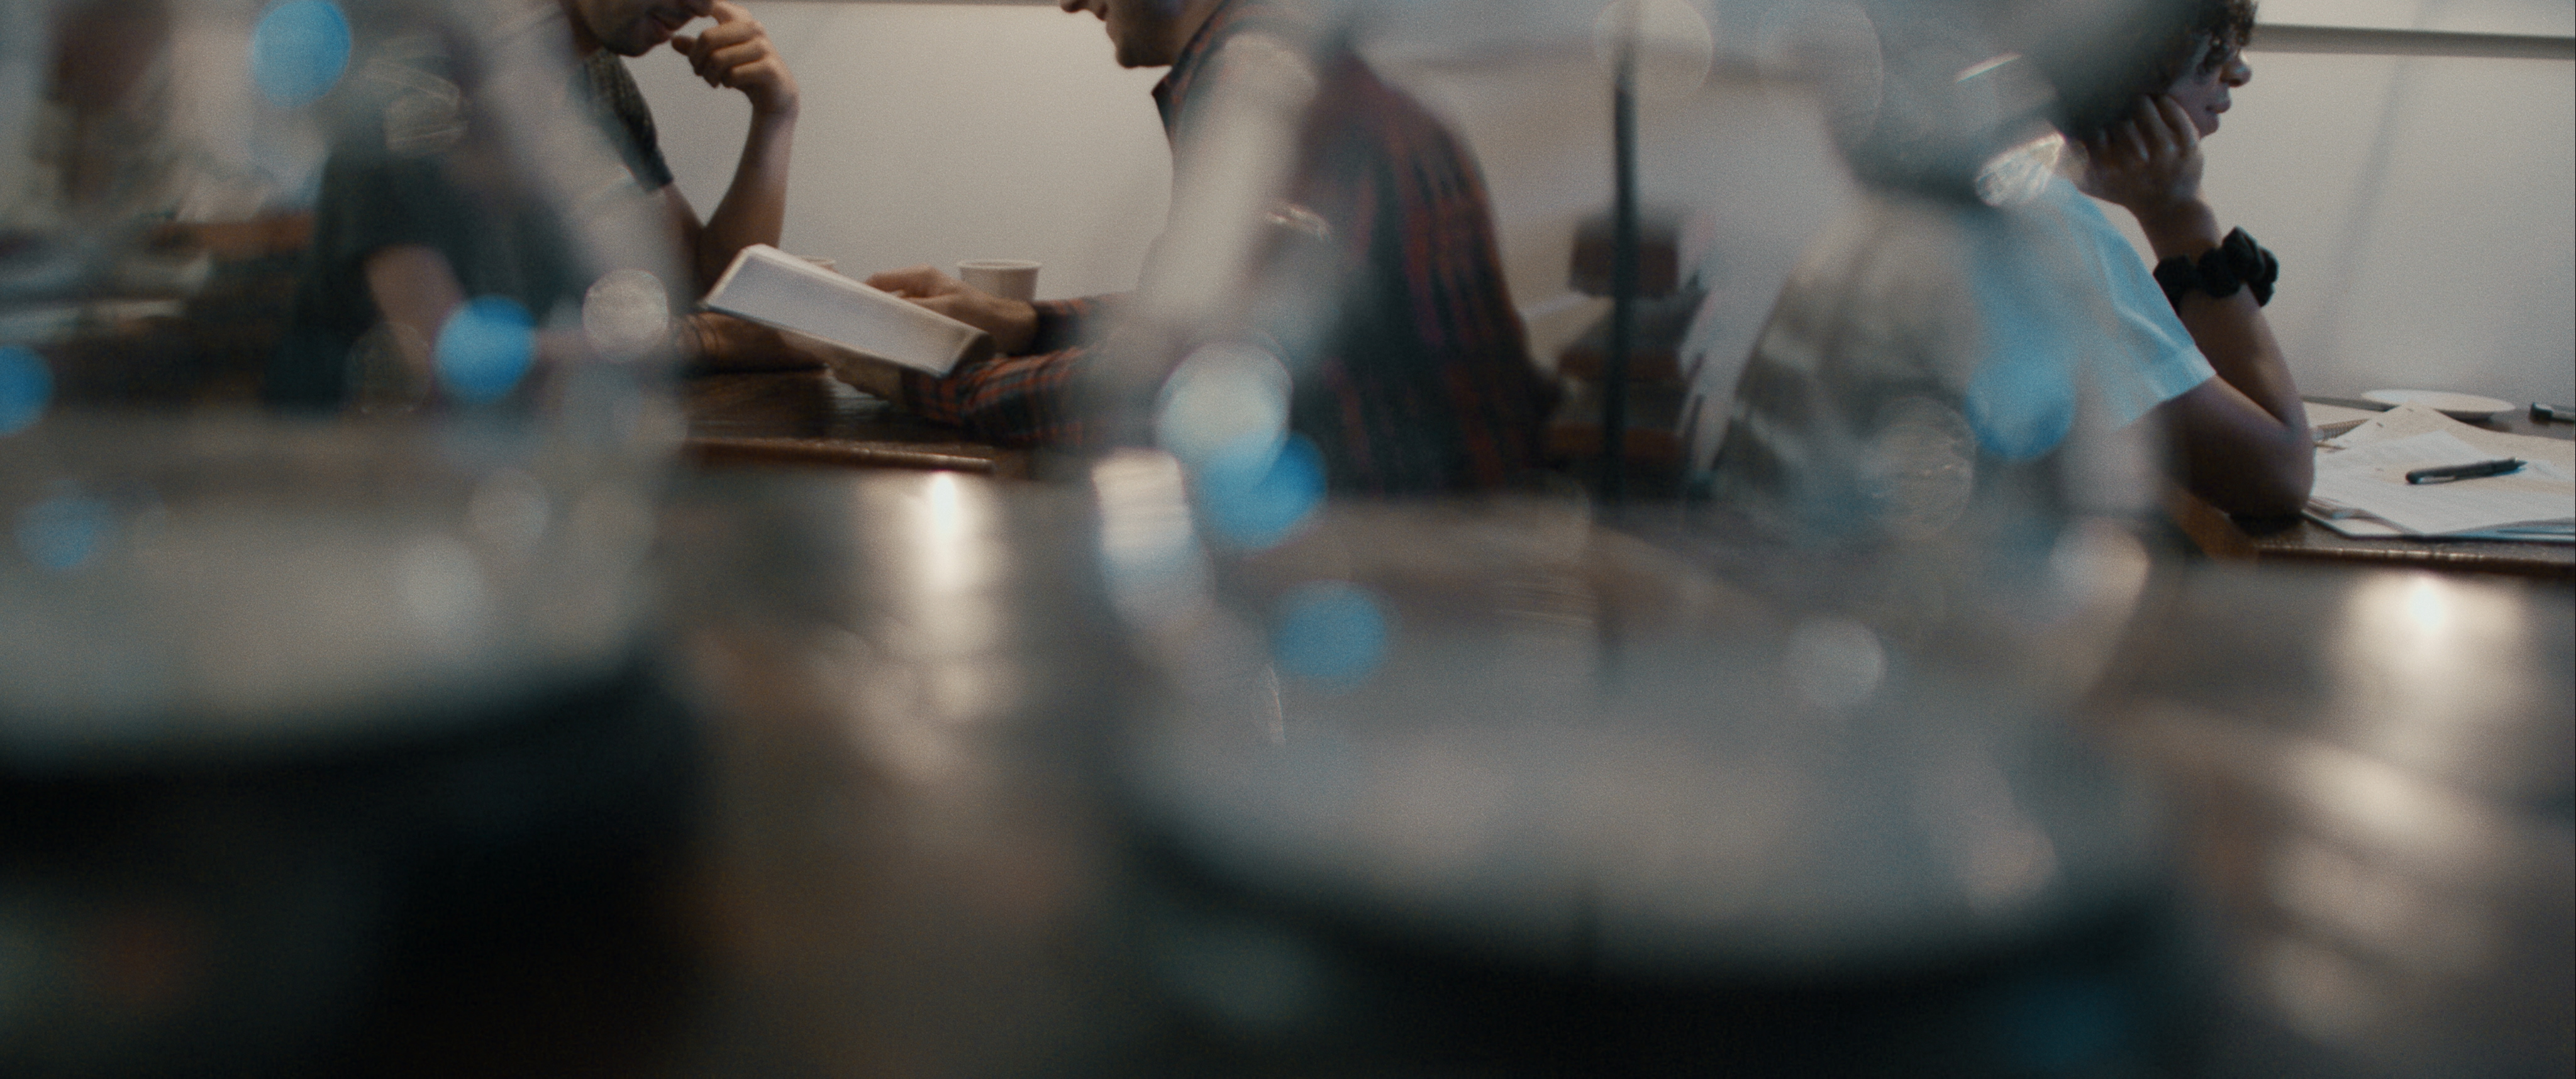
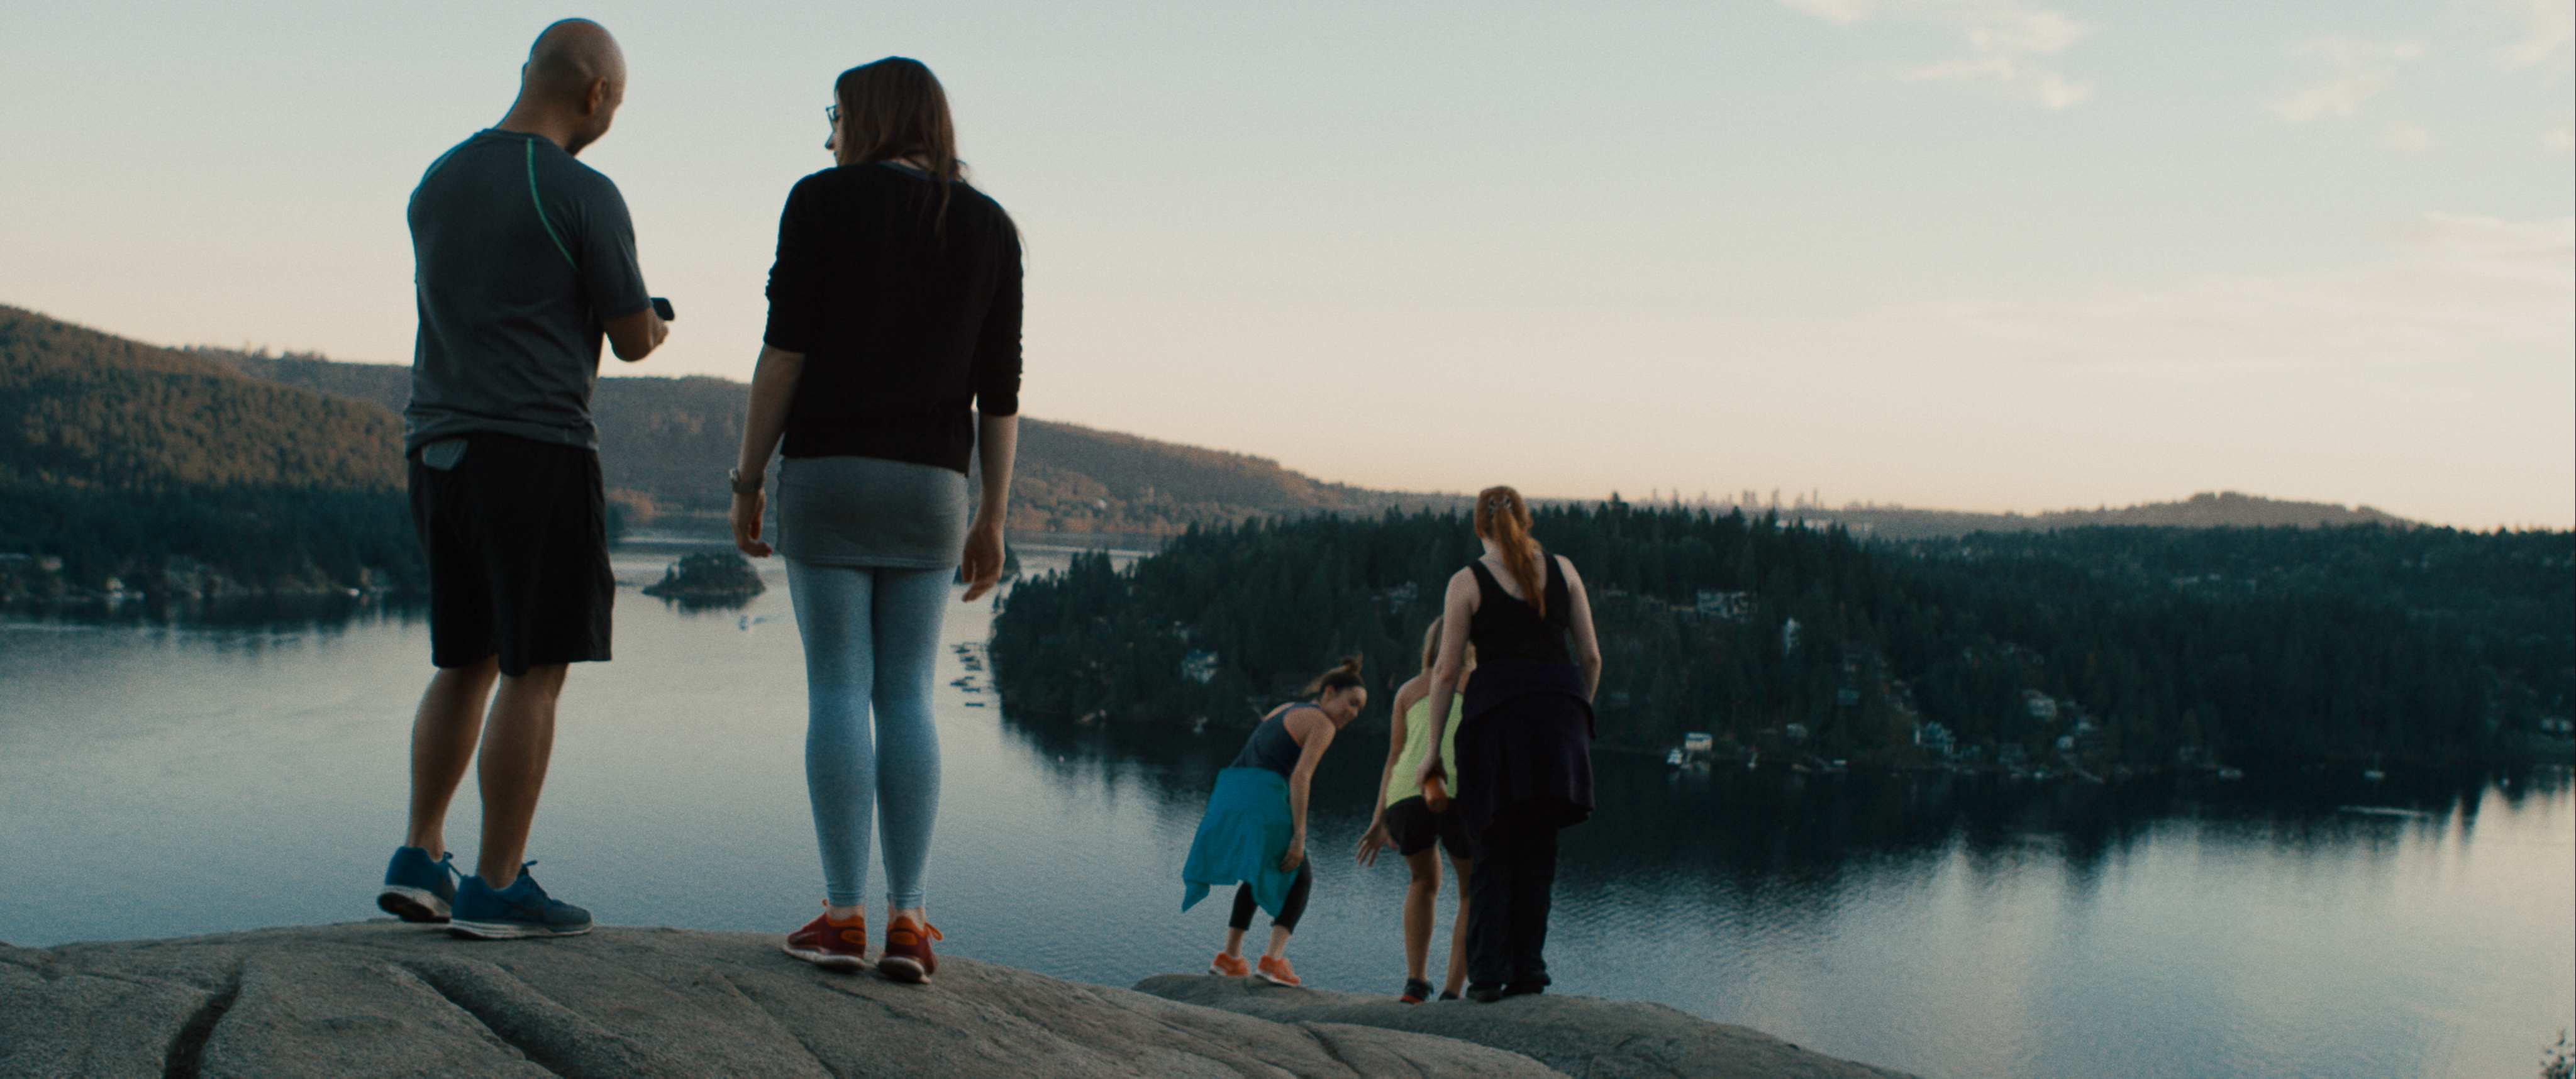
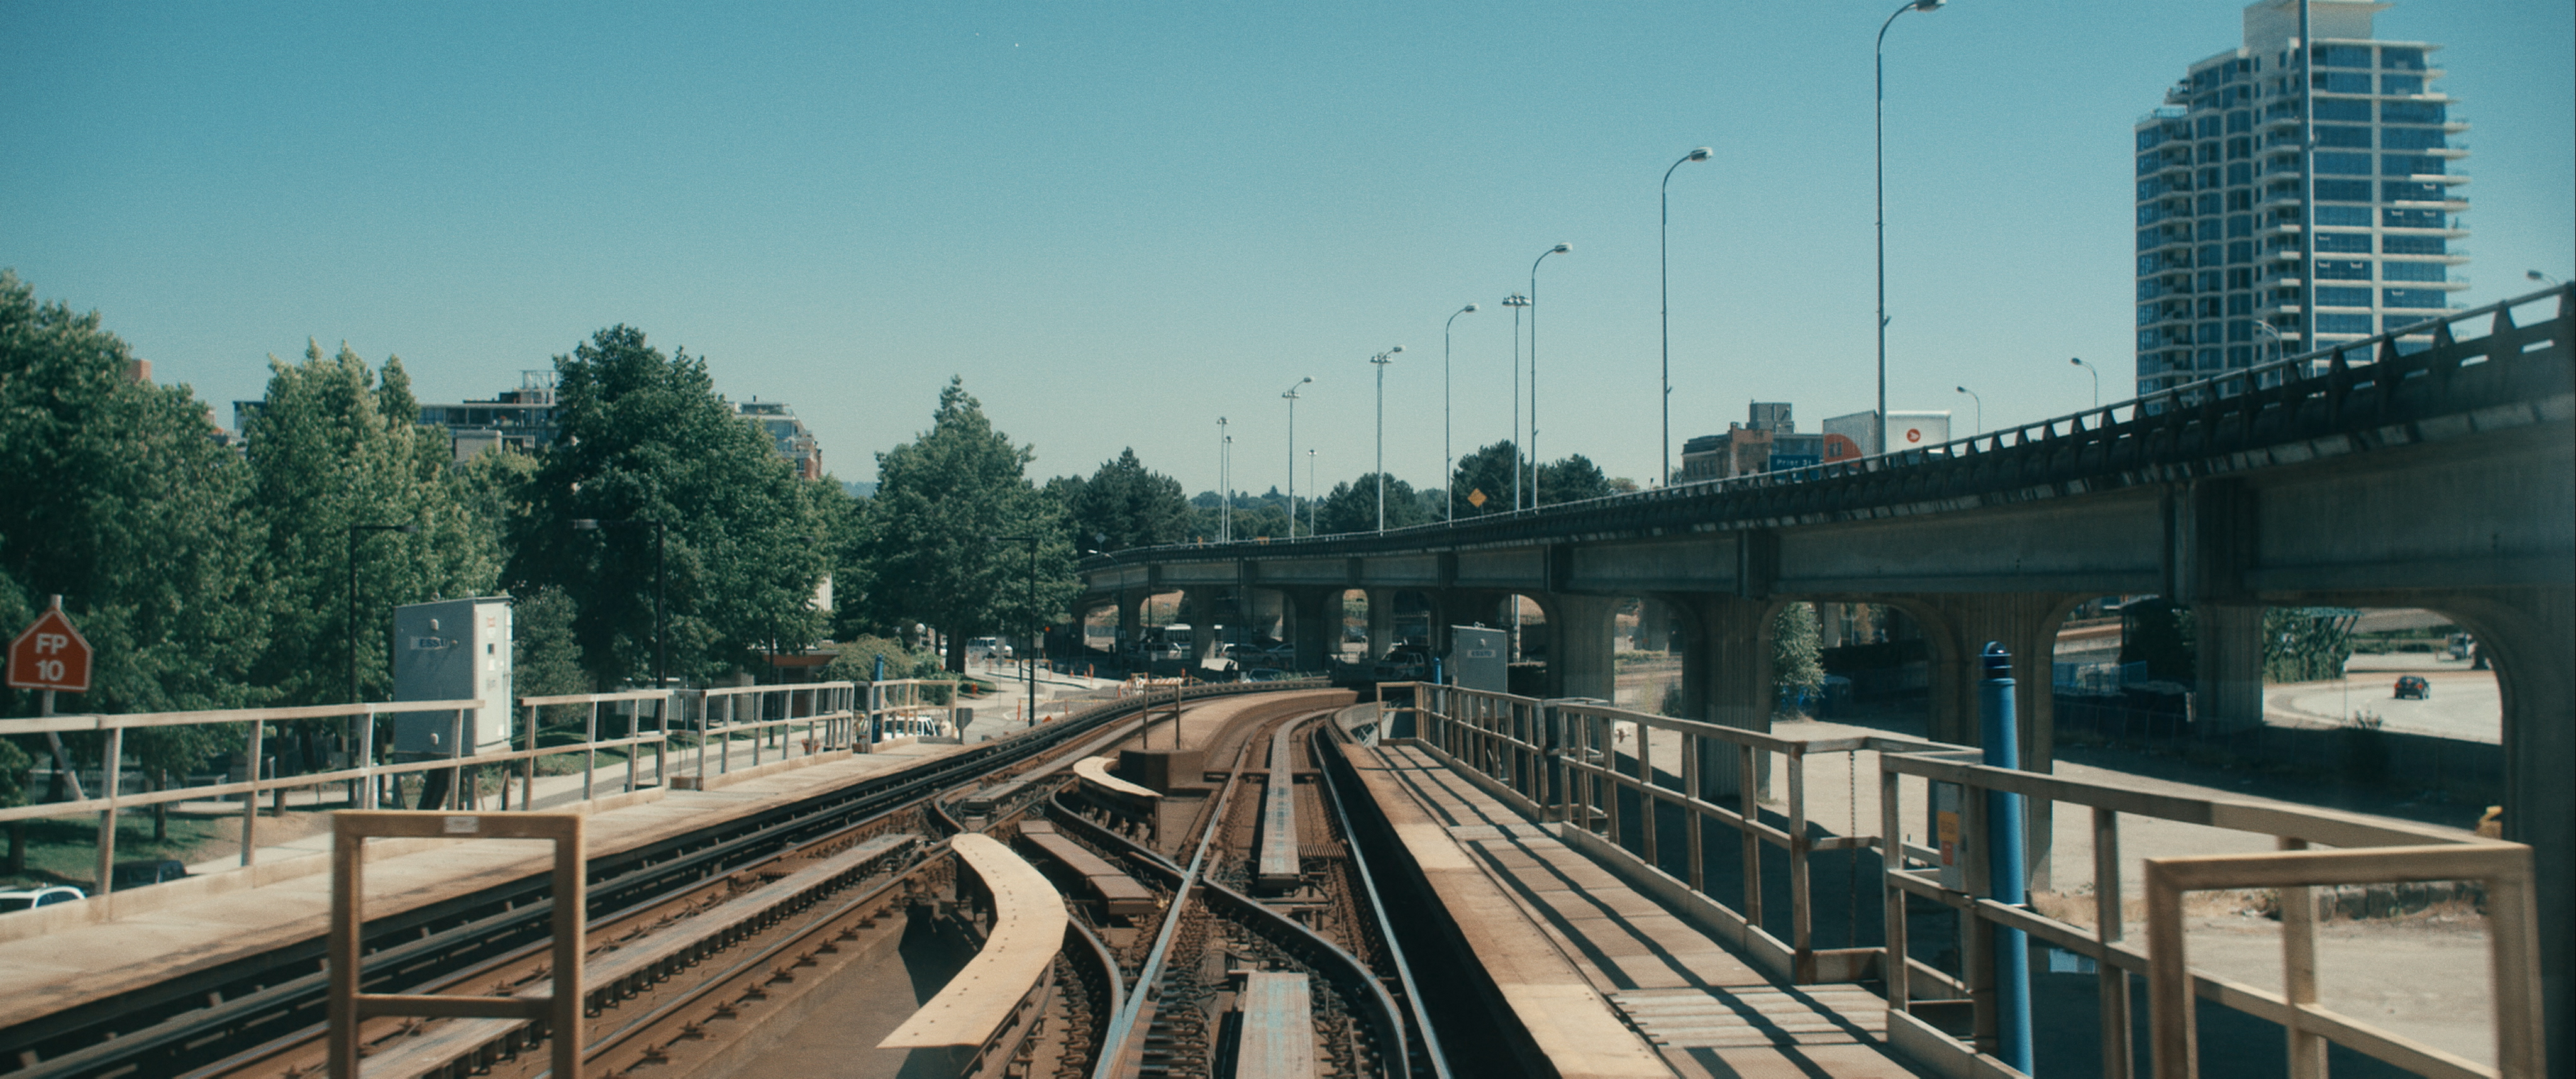
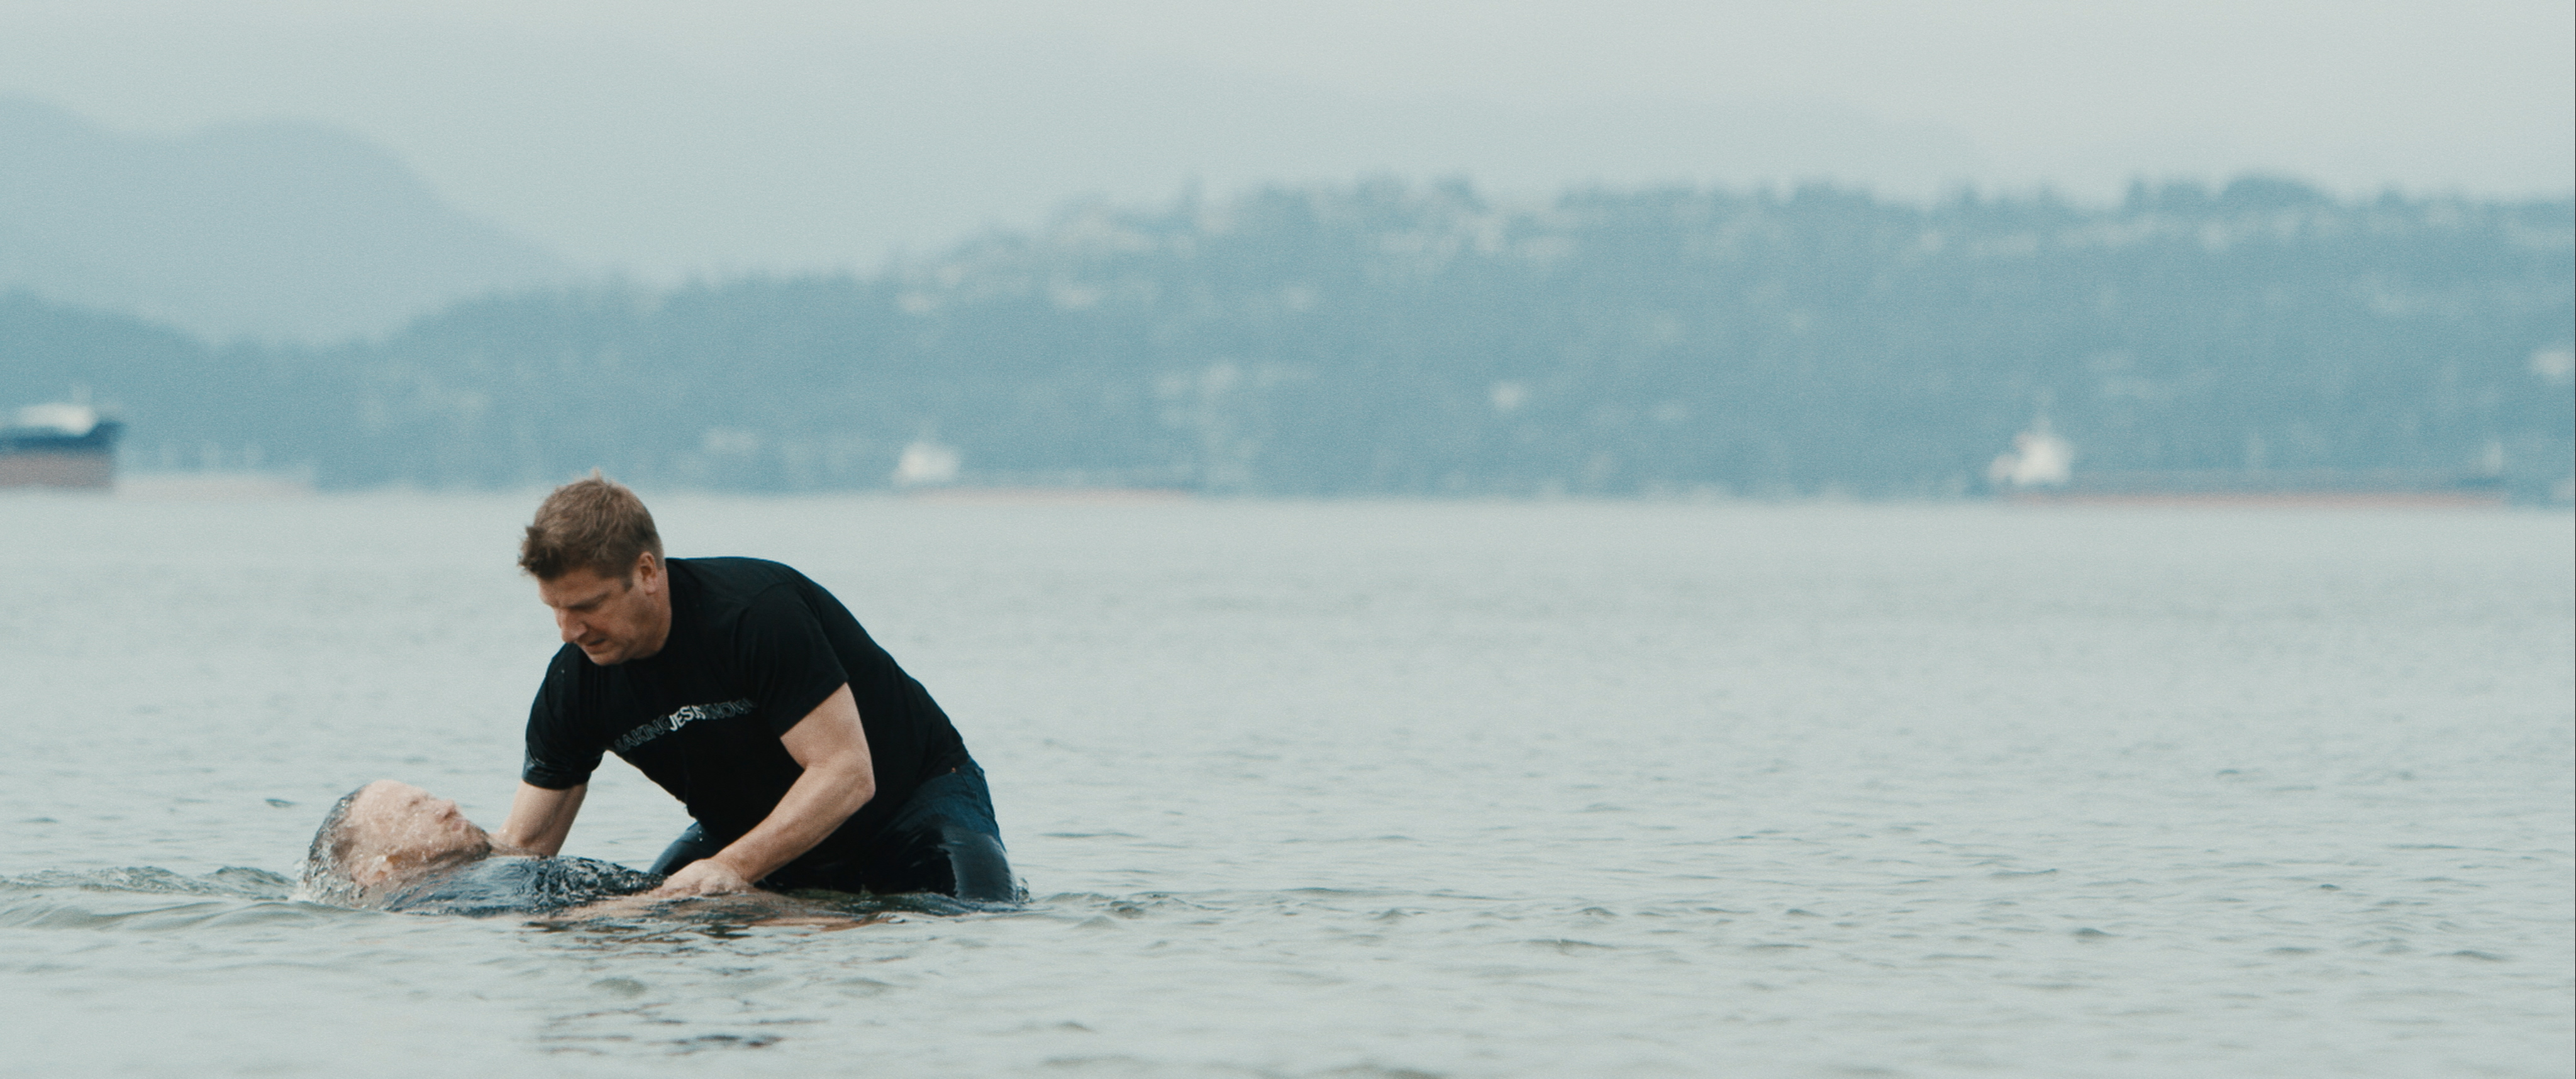
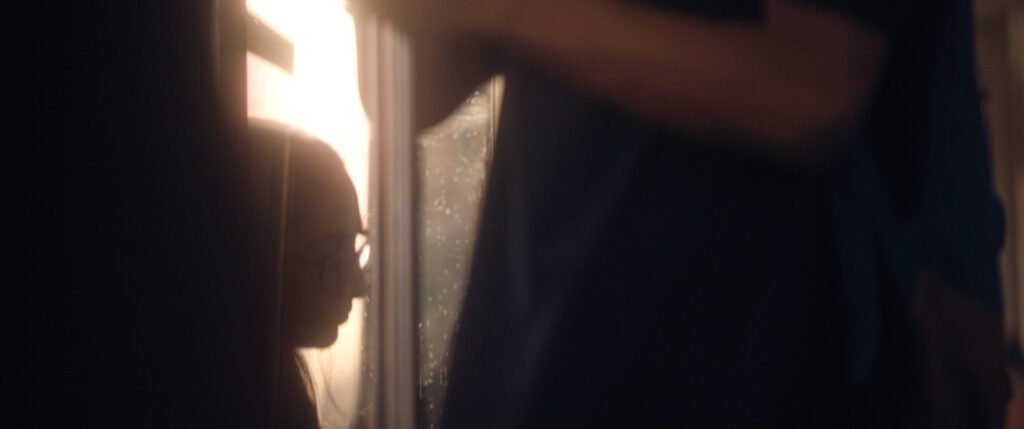
We went into production with a solid idea of how to capture the two main themes of the piece: Loneliness/Isolation and People/Community. In every location, the DP (Josh Knepper) and our 2nd unit camera operator (Levi Shiach) would shoot frames with the subject out of focus and low/isolated/marginalized in the frame for the loneliness/isolation theme. This would show the beauty of the location, perhaps, at the expense of the person in that moment. They’d also shoot with more standard framing to emphasize the beauty and creativity of the subject; the city then becoming simply the setting that supports the flourishing of humanity. Personally, the production reinforced the message of the film for me as well. We met so many wonderful and fun people, and it was incredible to see just a small section of human expression across the Lower Mainland in just one long weekend.

stay_1080p_worshiphouse-01_00_34_22-still001

stay_1080p_worshiphouse-01_01_39_02-still003

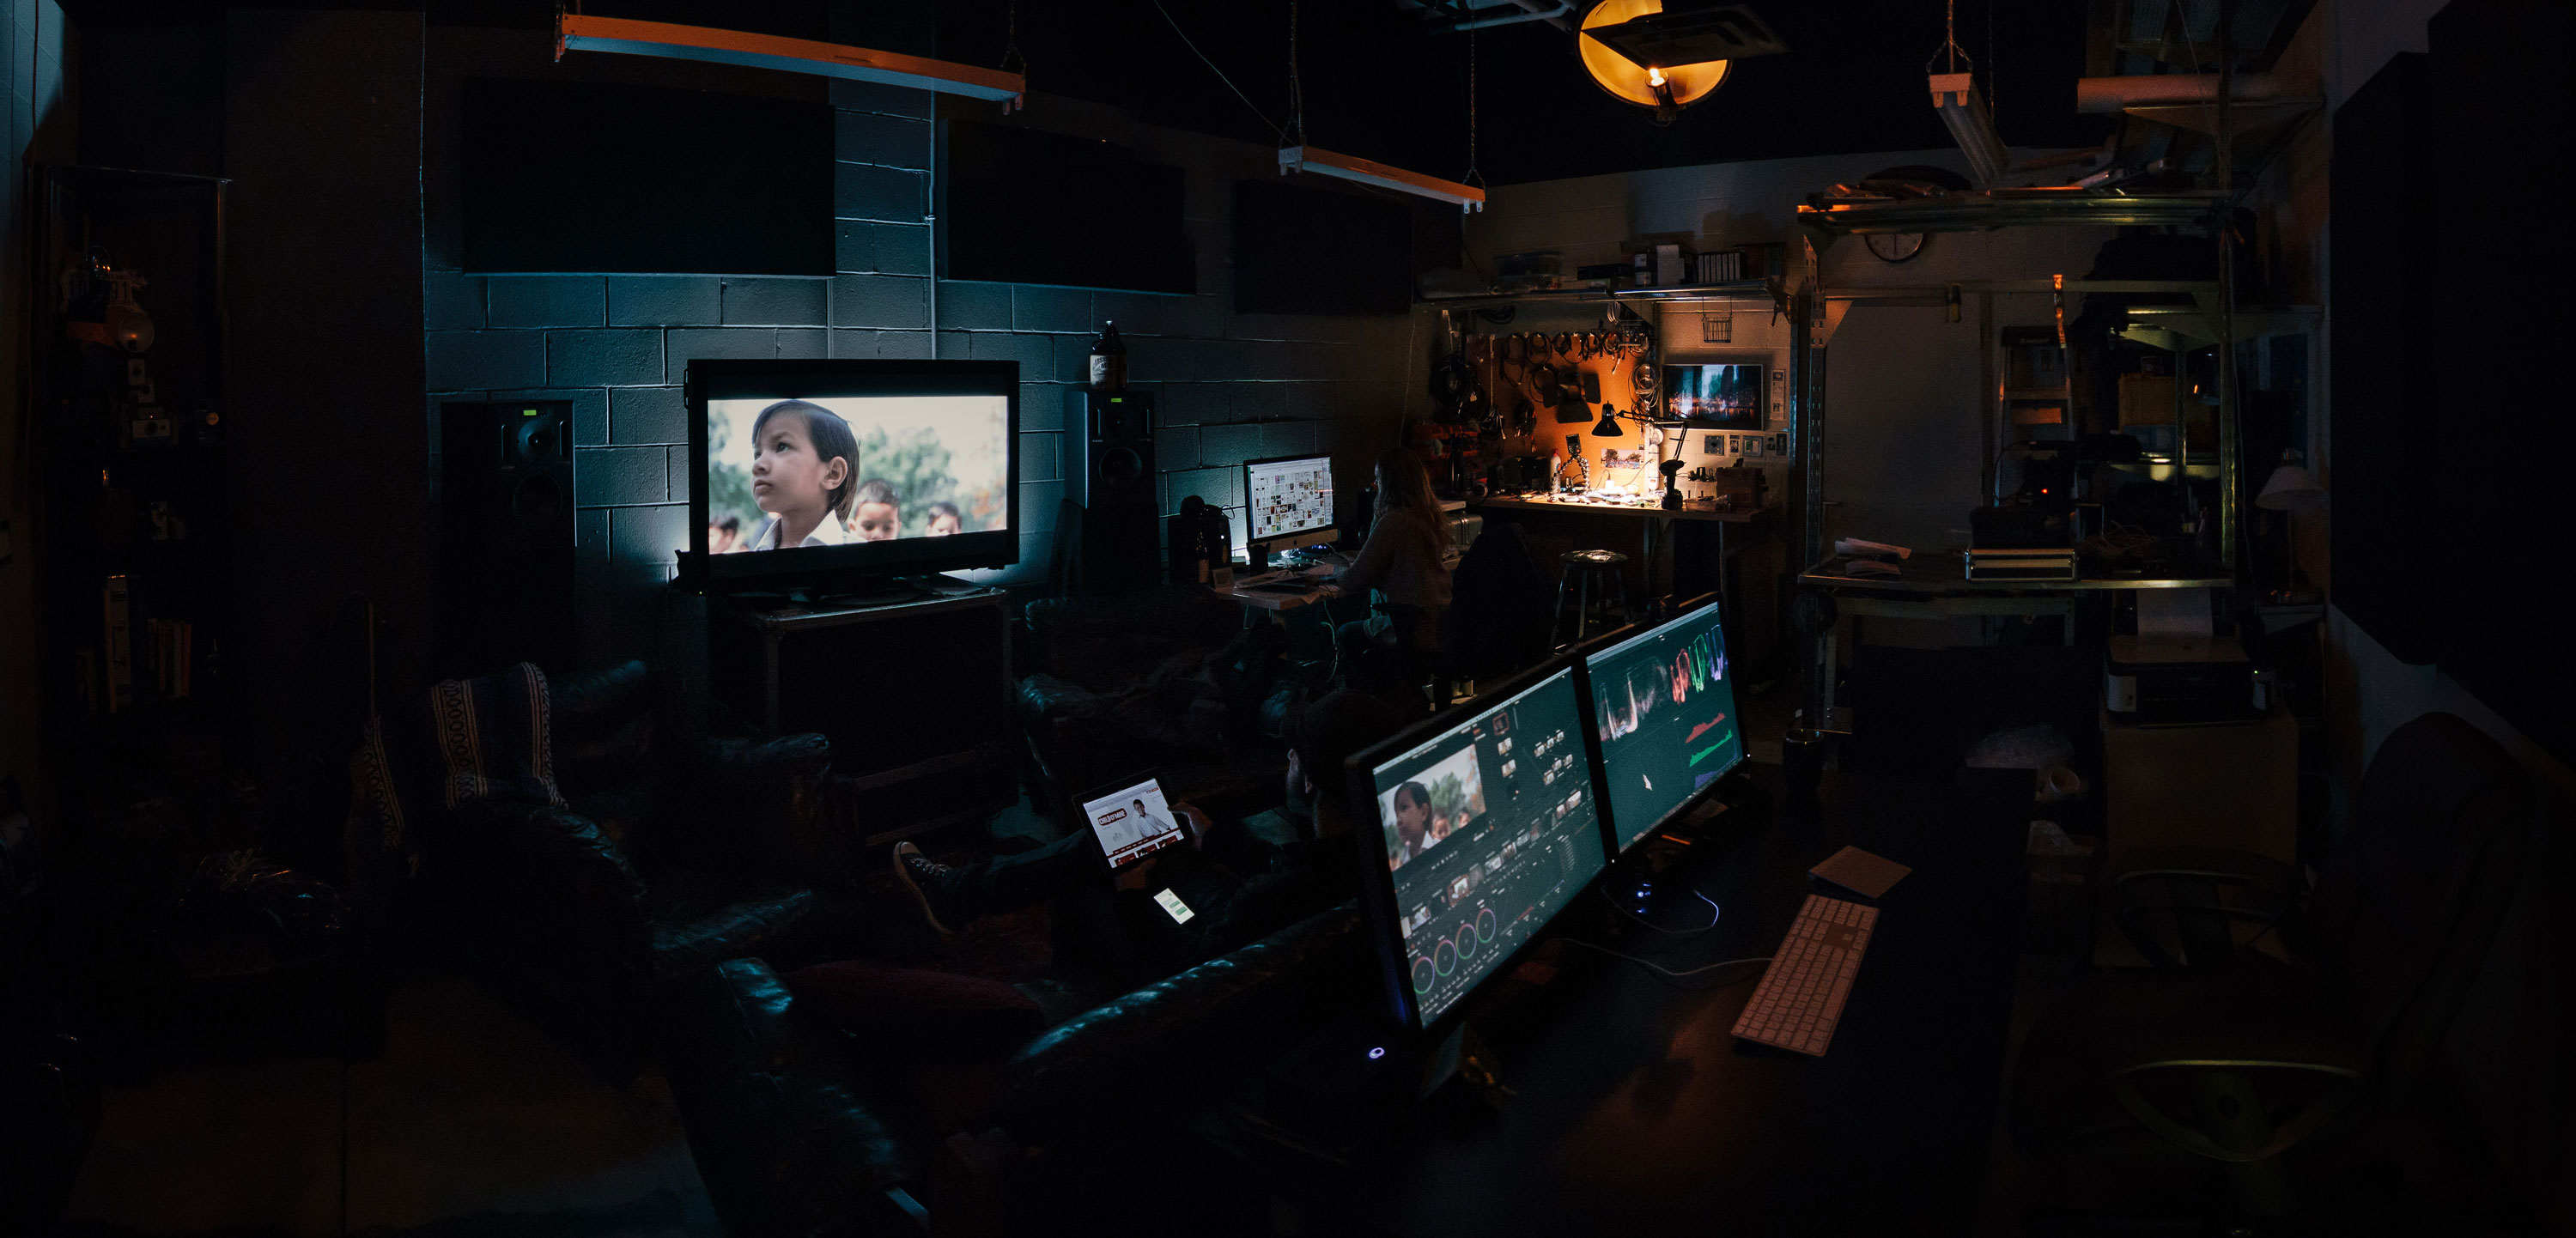
We finished photography three weeks before the delivery date, but most of the post-production happened the week before delivery, due to more pressing deadlines the weeks before that. It’s very true that nearing deadlines can bring out the most creative results in a production. For this film, I used a different editing process that worked very well. I first watched through all the footage to make selects. While doing this, I also wrote down ideas of how I could connect shots together by mood, color, framing, or idea. After that, usually I would have created a structure with the dialogue or interviews, and then fill in gaps with b-roll. Because this story leaned so heavily on mood and feeling, I decided to edit shot-by-shot. I would pick a shot that conveyed the feeling I wanted at that time, and wouldn’t move on to the next shot until it felt perfect. I repeated this process for all the revisions. The slow, methodical approach felt really great for this film.

img_6792

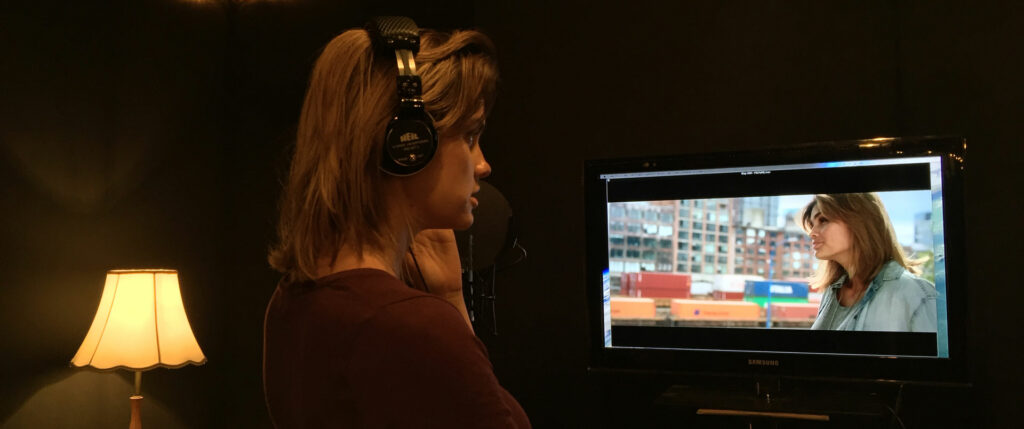
We had also filmed the actors with a style that was motivated by mood, but this also let us change some dialogue late in the edit to tighten up the story. For that we reason, we re-recorded all the lines, but also because we were working with a lot of wind and industrial noise on location. In addition, using a better microphone closer to our actors would give us an intimacy in the voices that I wanted. Brandon Dorsey did an incredible job on these recordings, as well as the sound design and final mix. The film’s beginning and end mirror each other to a point, and I wanted to support that with sound. The loud and noisy opening lacking in anything organic contrasts well with the human voices, laughter, and singing that dominates the soundscape at the end to reflect the change in focus the film brought the audience through. Chris Pulsifer did a beautiful job on the music. Our reference music in the edit was much more grand, but Chris’ simple string quartet emphasizes the human intimacy and community in the piece.

I really enjoyed directing this film. Everything came together to make it work well, and so many people gave generously of their time and otherwise to make this happen. The film asks the audience to consider staying for the people and community, but the film couldn’t have been made without that, either.

stay_1080p_worshiphouse-01_01_18_06-still002

stay_1080p_worshiphouse-01_01_45_00-still004

stay_1080p_worshiphouse-01_01_55_05-still005

local farm to schools

Shot over a week in beautiful Haida Gwaii, British Columbia, we produced this short film to highlight Farm to Cafeteria Canada’s work in reconnecting children to their food and their land. Read more about their work here.

“Farm to School” or “Local to School” activity as it is termed in Haida Gwaii, is helping to bring local foods and traditions into schools by connecting students and staff with farmers and food harvesters that know how to grow, harvest and prepare these foods.


Also, check out our then-intern Levi‘s behind-the-scenes look at our shoot.


Local Foods to School- Reconnecting the Children of Haida Gwaii to Their Food and Their Land.00_00_09_20.Still001 Local Foods to School- Reconnecting the Children of Haida Gwaii to Their Food and Their Land.00_01_00_21.Still002 Local Foods to School- Reconnecting the Children of Haida Gwaii to Their Food and Their Land.00_01_34_00.Still003 Local Foods to School- Reconnecting the Children of Haida Gwaii to Their Food and Their Land.00_01_54_01.Still004 Local Foods to School- Reconnecting the Children of Haida Gwaii to Their Food and Their Land.00_01_56_03.Still005 Local Foods to School- Reconnecting the Children of Haida Gwaii to Their Food and Their Land.00_02_01_23.Still006 Local Foods to School- Reconnecting the Children of Haida Gwaii to Their Food and Their Land.00_02_10_18.Still007 Local Foods to School- Reconnecting the Children of Haida Gwaii to Their Food and Their Land.00_04_39_01.Still008 Local Foods to School- Reconnecting the Children of Haida Gwaii to Their Food and Their Land.00_05_25_23.Still009 Local Foods to School- Reconnecting the Children of Haida Gwaii to Their Food and Their Land.00_05_30_00.Still010 Local Foods to School- Reconnecting the Children of Haida Gwaii to Their Food and Their Land.00_05_30_20.Still011 Local Foods to School- Reconnecting the Children of Haida Gwaii to Their Food and Their Land.00_06_39_08.Still012 Local Foods to School- Reconnecting the Children of Haida Gwaii to Their Food and Their Land.00_07_30_07.Still013


Preparing for the Grade

When preparing an edit for grading, there are a number of things you can do to ensure your edit conforms in the grading suite as you’d like it to. The following are specifications, specifically for prepping to handover your Premiere project, but also apply to other NLE’s as well. Material that does not meet these specifications will need to be reformatted at additional expense.

Please provide a mix down ProRes 422 Proxy MOV file with Time Code window burn as a picture reference. This reference file needs to be reviewed prior to delivery to us for any mistakes, as it is our gold standard reference of your edit. It would also be helpful if the window burn also included the source TC & clip names of the RAW material.

To Apply a Timecode Generator,
* Add adjustment Layer to the timeline
* Add Effects/Video/Timecode.
* Timecode Source – Generate
* Label Text Auto (TCG)

To Add Source TC and Clip Name,
* Add Effects/Video/Clip Name
* Add Effects/Video/Timecode – Timecode Source/Media
* Once correctly set, Paste effects attribute to all clips in the timeline.

Simplify the timeline. It should consist of as few tracks as possible. One track is ideal, but it is understandable that some effects and titles may require additional tracks. Please place any titles on a video track above the edit and label the track appropriately.

Remove all Nests in the timeline.

Join any through edits.

If you are delivering an offline edit, check to see that the clips / reels refer to the original camera filenames and reel names. Find a clip referenced in your timeline in its bin and make sure the ‘Camera Roll’ column has the full, 16-character RED name or Alexa name (For example, A001_C001_0505HE).

Make sure there are no variable speed changes if possible. Any speed changes should be set at constant rate. Otherwise it will be considered a visual effect and should be noted, billed and processed accordingly.

Mark specific edit items in the timeline. Please place locators in the timeline to mark and all effects and keyframes to those effects. Please do this for scale changes, repositions, retimes, backwards retimes, anything with keyframes, flips, flops, etc. Anything not marked may not carry over into the conform. Also be sure to mark all VFX shots in the timeline using appropriate VFX shot names. Then, export the market list. File/Export ‘Export Markers’- file.html

Consolidate the project. Please consolidate your timeline(s) onto the one drive you plan to deliver to us.

Deliver all the materials (the Reference File, Consolidated Premier Project, locator List, Titles, VFX, and original cameras, etc.) using external Thunderbolt/USB3.0 drives or RAID. Call to confirm if this is not your standard.

Portal Combat

BOOM! Josh & I swung down to Texas this past April to shoot this piece with Film Riot. It was just released, and we’re mega-proud of how it turned out. Josh DP’d and operated camera, while I recorded location sound.

Film Riot produced this in collaboration with Hitfilm, who has just released Hitfilm 3 Express for free at http://www.hitfilm.com/express

ALSO, here are Part 1 & 2 of fun & insightful behind-the scenes from Connolly as well for your enjoyment and learnings.

Grading Tutorial on U.F.Oh Yeah

Wanna know a bit more about grading & colour? I just worked on a grade for Ryan Connolly’s film U.F.Oh Yeah – just a fantastic short film. Ryan had me put together a short tutorial on how I used Resolve & my eye for colour to grade the film. If you haven’t seen it yet, here’s the short – then check out the tutorial after the jump.


Grade your show with us

02_Slider-Grading_small

Colour is one of the most important parts of your film, and that should go without saying – it is a visual medium, after all! Oddly, though, it’s one of the most forgotten tools available for the filmmaker! Swing by and get it done at our studio – it can make a night and day difference. Whether you need a simple colour correction or are looking for a very specific look, we’ve got you covered.

We provide a full Davinci Resolve grading suite for web or broadcast, including a 50″ professional Panasonic plasma reference monitor for sessions with you, the client. We charge $700/day for this service, but if you just have a short piece, we also have an hourly rate at $80/hr.

Want to know more about what a colourist does? Check out this piece that we enjoyed.

Jesus is the Centre

Our recent film “Jesus is the Centre,” which we produced for Westside Church, has been received very well and we have enjoyed the responses and feedback from everyone. We’ve had some requests for a behind-the-scenes look at the piece, so here you go!

Westside Church moved into The Centre (previously The Centre for Performing Arts) in Vancouver August 6th, 2013. A month before that, Westside asked Josh & I if we would be willing to create a film to be shown at the first gathering at the new venue. As we are both members of Westside Church, we were of course totally fired up about doing that!